Detailed Explanation of Laser Marking Machine Parameter Settings
The performance and effectiveness of a laser marking machine highly depend on the proper configuration of its parameters. Correctly adjusting these parameters ensures clear, aesthetically pleasing, and precise markings while improving processing efficiency. Below is a detailed explanation of common parameter settings for laser marking machines, including power, speed, frequency, and fill patterns.
1. Laser Power
Function:
Laser power determines the energy intensity of the laser beam on the material, affecting the marking depth and clarity.
- High Power: Suitable for deep engraving on metals or removing thick oxide layers.
- Low Power: Suitable for thin materials or heat-sensitive materials like plastics and paper.
Recommended Settings:
- Metal materials (e.g., stainless steel, aluminum): Power should be set to 60%-90%.
- Plastic materials: Power typically ranges from 30%-60%.
Note: Excessive power can damage materials or create burrs, while insufficient power may result in faint markings.
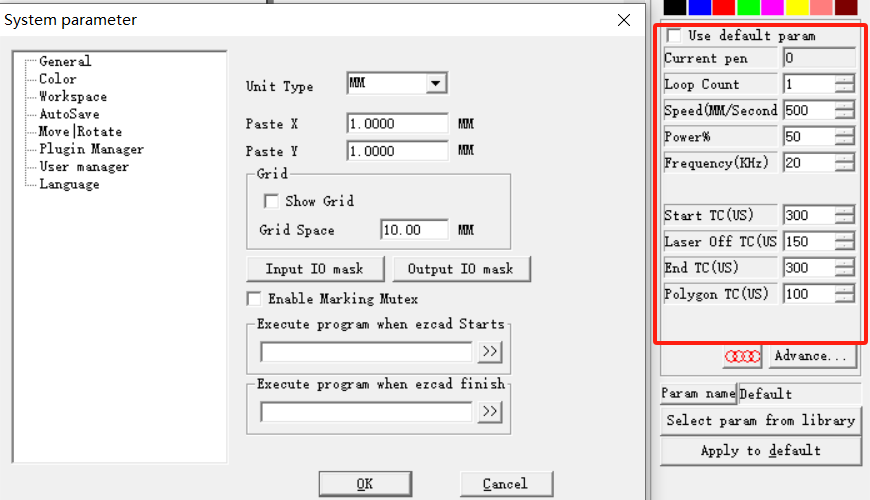
2. Marking Speed
Function:
Marking speed determines how quickly the laser head moves across the material surface, impacting marking efficiency and quality.
- Low Speed: Prolongs laser exposure time, suitable for deep or high-contrast markings.
- High Speed: Shortens laser exposure time, ideal for shallow or rapid production.
Recommended Settings:
- For metal deep engraving: Speed between 200-400mm/s.
- For plastic marking: Speed between 400-1000mm/s.
Note: Speed should align with power and frequency; excessive speed may lead to faint markings or loss of detail.
3. Laser Frequency
Function:
Laser frequency refers to the number of laser pulses per unit time, influencing heat input and marking effects.
- High Frequency: Suitable for smooth surfaces and materials with low heat sensitivity, like metals or plastics.
- Low Frequency: Best for deep engraving on metals or rough surfaces.
Recommended Settings:
- Metal materials: Frequency between 20-60kHz.
- Non-metal materials (e.g., plastics): Frequency between 10-30kHz.
Note: High frequency can cause heat accumulation, while low frequency may result in rough or discontinuous markings.
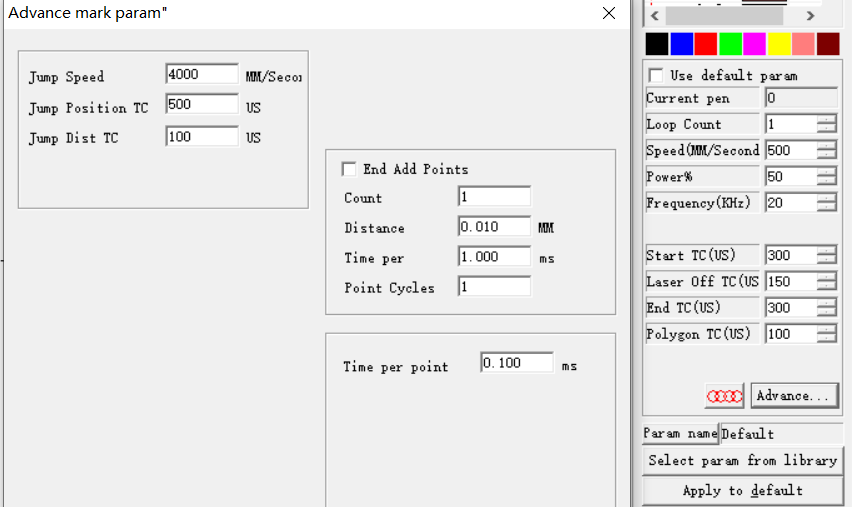
4. Fill Patterns and Density
Function:
The fill pattern determines how the laser covers the marking area, affecting uniformity and efficiency.
Fill Patterns:
- Single-line fill: Suitable for simple markings; fast but with average results.
- Double-line fill: Ideal for high-contrast and detailed markings.
- Grid fill: Suitable for large-area markings but slower.
Fill Density (line spacing):
- Small spacing (0.01-0.05mm): Suitable for high-contrast and high-precision markings.
- Large spacing (0.1-0.2mm): Suitable for fast or rough markings.
Recommended Settings:
- For high precision: Set line spacing to 0.03mm.
- For general marking: Set line spacing to 0.1mm.
5. Focus Adjustment
Function:
Focus adjustment ensures the laser beam's focal point is accurately positioned on the material surface, affecting marking clarity and energy density.
Adjustment Method:
- Use a focusing gauge or focusing module to ensure the laser beam is focused on the material surface.
- If edges appear blurry during marking, recalibration of the focal length may be necessary.
Recommended Settings:
Adjust according to the lens's focal length specifications (e.g., F-Theta 100mm or 200mm) for optimal marking distance.
6. Galvo Mirror Angle and Scanning Speed
Galvo Mirror Angle:
- Ensure the laser beam is incident at the correct angle into the galvo system to avoid beam misalignment or marking distortion.
Scanning Speed:
- Default settings are generally sufficient, but ensure alignment with the marking speed.
7. Advanced Parameters
Pulse Width:
- Short pulse width: Suitable for high-precision shallow engraving.
- Long pulse width: Suitable for deep engraving or high-energy processing.
Power Mode:
- Constant power mode: Suitable for uniform materials.
Pulsed power mode: Suitable for heat-sensitive materials.
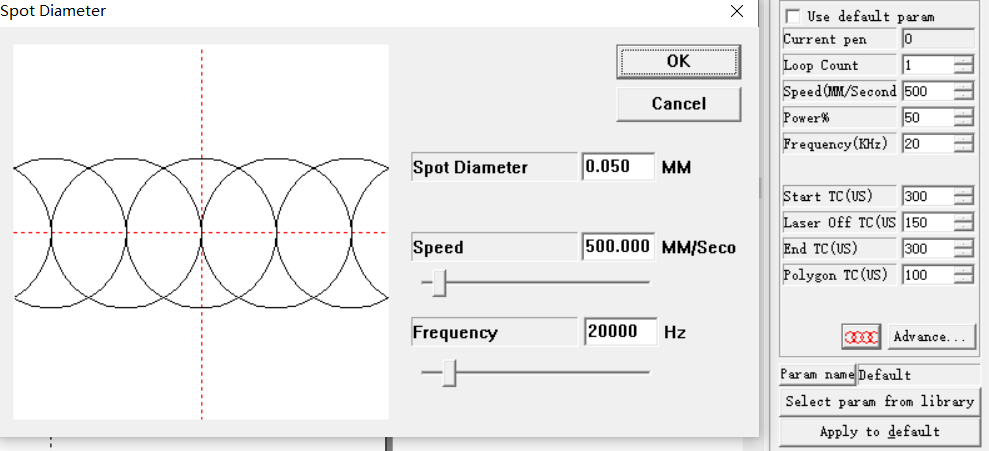
8. Common Material Parameter Reference Table
| Material Type | Power (%) | Speed (mm/s) | Frequency (kHz) | Fill Spacing (mm) |
|---|---|---|---|---|
| Stainless Steel | 70-90 | 200-400 | 30-60 | 0.05 |
| Aluminum Alloy | 60-80 | 300-500 | 20-50 | 0.1 |
| Plastic (ABS) | 30-50 | 400-800 | 10-30 | 0.08 |
| Glass | 50-70 | 200-300 | 20-40 | 0.05 |
| Wood | 50-80 | 300-600 | 10-20 | 0.1 |
The proper configuration of laser marking machine parameters should be tailored to the material characteristics, processing requirements, and machine capabilities. To achieve optimal results, experiment and optimize settings while maintaining regular equipment maintenance and cleanliness. Mastering parameter adjustments will significantly improve processing efficiency and marking quality, meeting diverse production needs.
 laser marking machine for meta
 laser marking machine price in
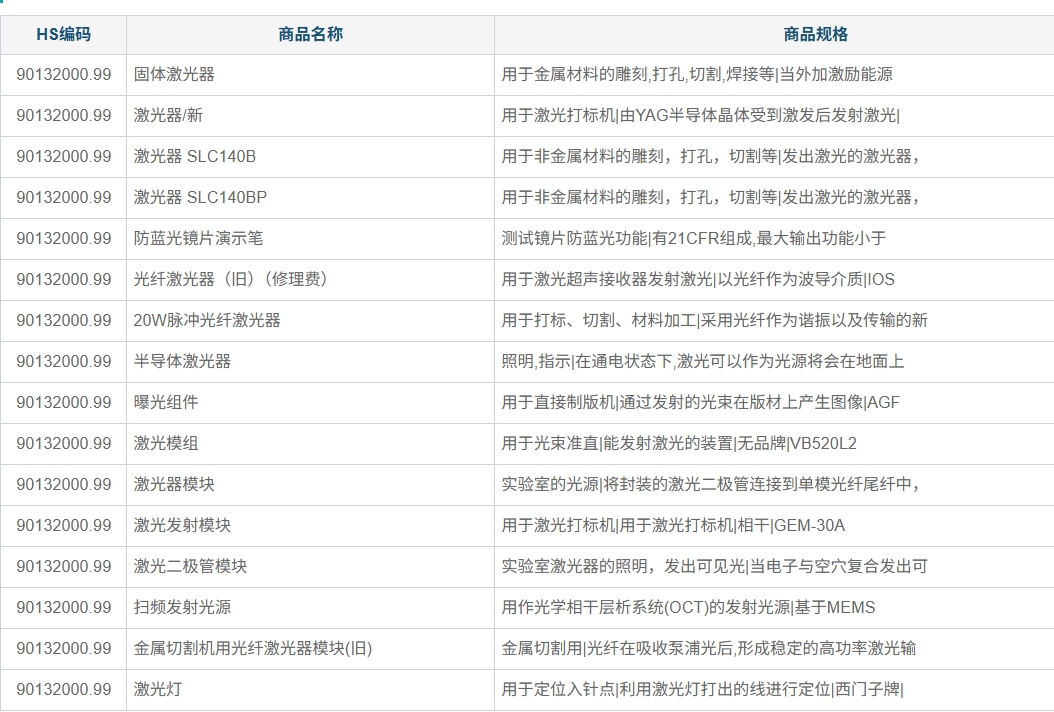 HS code information of laser m
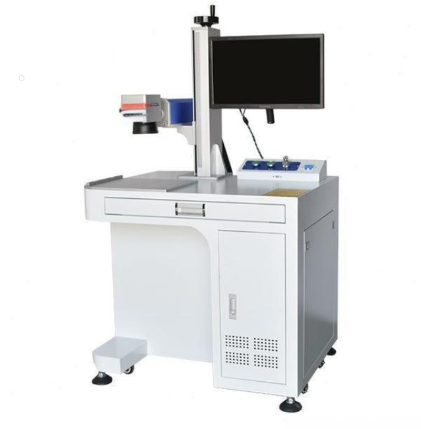 20w fiber laser marking machin


